
Earlier today, I was in a meeting and I was thinking how to improve the quality of my video conference that I often do from home. I was at the time especially focussed on how to improve the sound quality. After some Nerd Sniping from my boss, I ended up reading about some internal document that basically describe the following steps:
- get a decent webcam: done
- get some proper lighting: I thought it was ok for my home setup, but some tests proved I need some improvement. More later.
- get a good microphone: well, this is 3rd step and I got sidetracked
About the lighting, the theory explains that you need 3 lights. I’m not an expert so I’ll just link the video I just watched on the topic and that sums up the totality of my knowledge:
My current lighting strategy involves 2 IKEA LED lights (they seem to be named JANSJÖ) that I use as indirect light, hitting a white paper and on my right and a wall. I don’t have a hair light but I have a GU10 spotlight that I can redirect so I’ll focus on this later. As I discovered this lightning is far from being powerful enough, I scrambled and found some other LED lights we used when the kids were babies. They seem to be named DIODER but we have only 3 heads remaining. Each head has 6 LED and some more basic tests showed they were providing correct power at roughly 1/3 of the distance I could use them. As amortization is quadratic, it happens I need something like 54 LEDs to have proper lighting. As 48 LEDs seems to be a good standard, I’ll probably buy 2 sets in the near future, when I find them at an agreeable price (read cheap knock off from aliexpress).
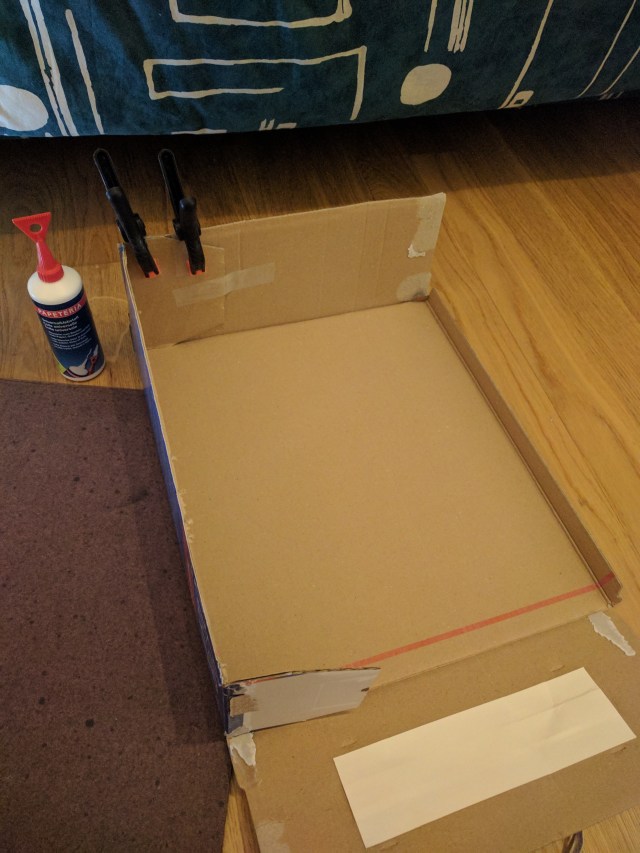
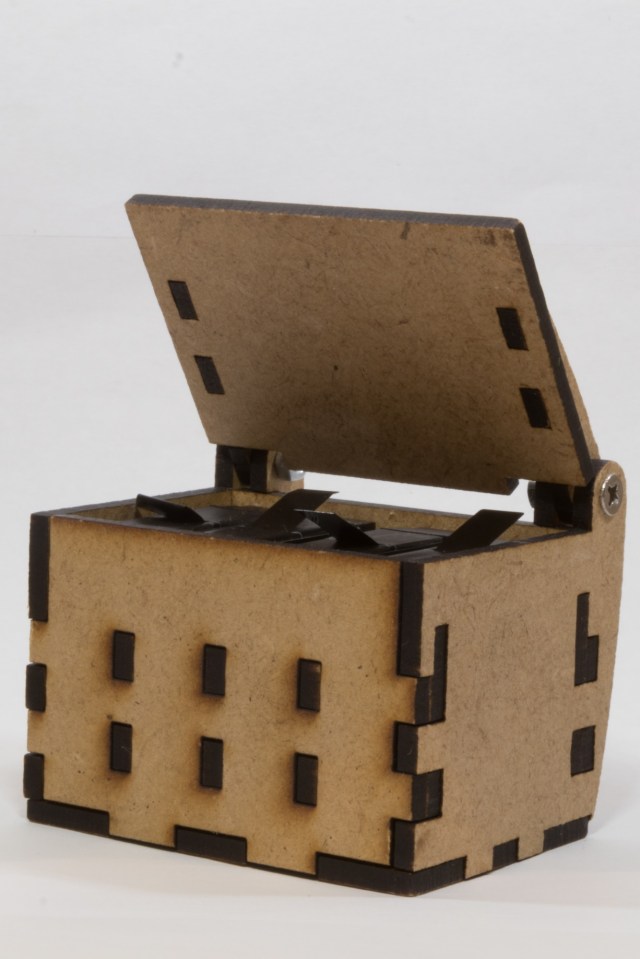
Anyway, I was back to square 1: my video conference did not improve but I now had spare lights (and some stuff in my office). Then, it hit me: I had issue taking picture in the evening when I did my last laser-cutter build (free teaser: it’s a gopro box and you can find all the glory details in the relevant post). So, I got my hot glue gun, some cardboard (it happens that a empty litter package was available) and started to build.
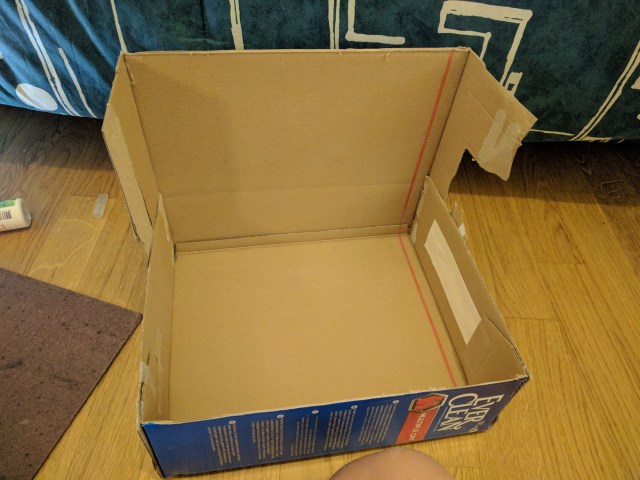
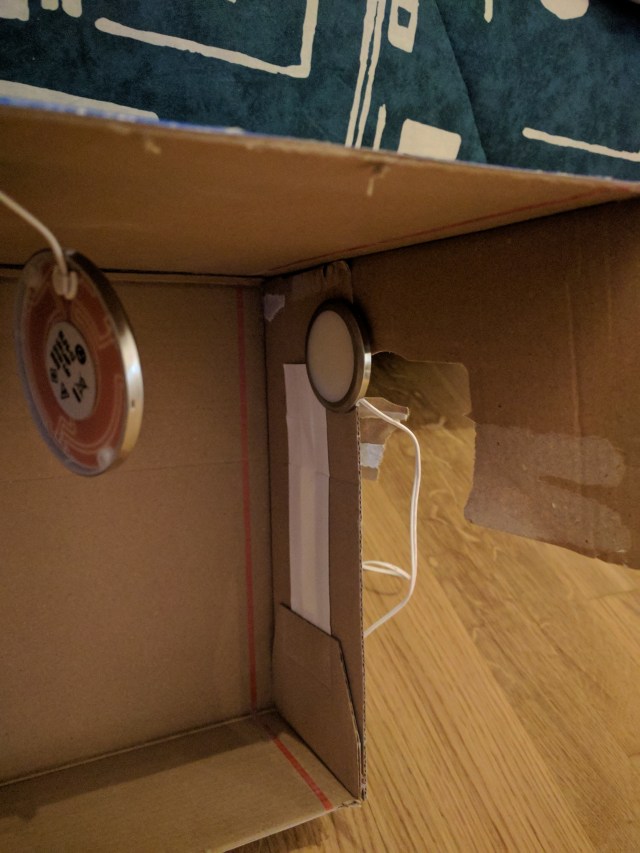
The build is pretty straightforward: Cutting, hot-glueing, double-side tape. It’s called an ugly prototype :-). Some pictures of the process (just click to enlarge).
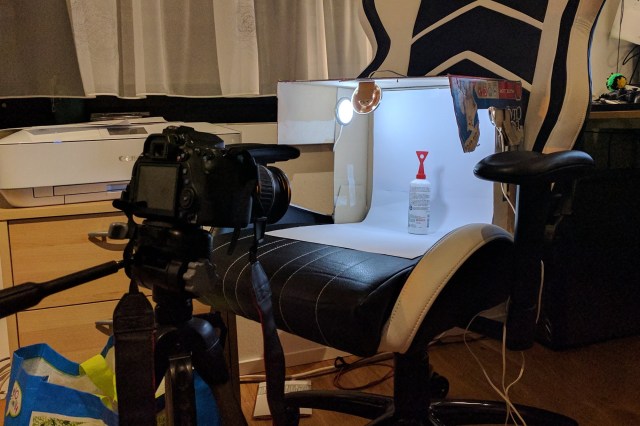

After 2 hours, it’s time for a small conclusion:
- To have enough Depth of Field when shooting macro, you need to close like crazy (technical term). These pictures are typically f/25 and 10s exposure
- When using 10s exposure in a flat, you don’t move. And you don’t breathe. Actually, you even hold the cat to prevent vibrations.
- Your best friend when shooting long-ish exposure on the fly (i.e. holding your camera and shooting 1/8th) is your worst enemy here: disable Image stabilization and the pictures are going to be sharper.
- Don’t press the button: use a remote or the timer from the camera and walk back as far as you can
- This is studio time, pick your lens carefully. You don’t care about aperture, you care about piqué (or whatever it’s called in English, optical sharpness?)
- Shooting macro will actually give you 24MPixels to look at your stuff. Most of the pictures didn’t make it just because I was ashamed of them (my wedding ring is actually disgusting when I look at it from close)
Anyway, my video conference setup did not improve (yet) but I’m researching about microphones, so expect more on the topic soon.

I laughed at “you hold the cat” 😀
LikeLike
Pingback: Create a video lamp – Bruce's hideout
Pingback: Create a video lamp – Bruce's hideout