For my kids birthday, my wife wanted to organize a treasure hunt. The idea was to have a bunch of indices, that would eventually leading to getting 4 numbers, used to unlock a paddlock holding chains around a chest.
While the idea seems sound, devils in the detail as we wanted the cost to be controlled and the chest to look nice.
In the end, we got cheap brass-like chains from a local crafting shop (~2 F per meter), cheap numerical paddlocks from China (aliexpres, 3F each) but we still needed a chest.
Solution we used was to buy a cheap wood crate (~10F) and design a custom roof, to make it look like a treasure chest. This is very similar to this design I made on thingiverse a long time ago, but much bigger.
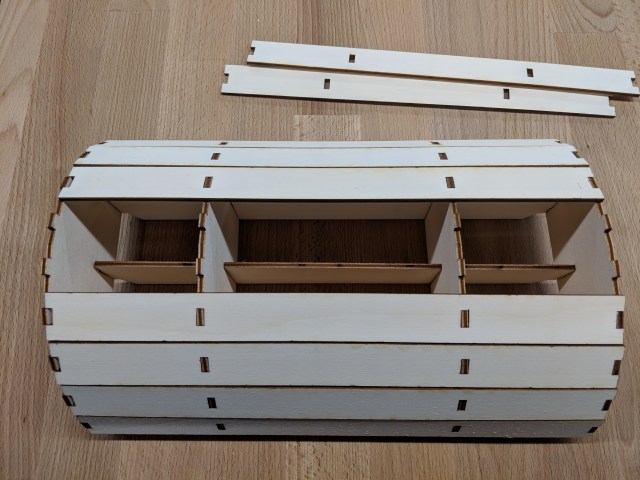
I used 3mm plywood (which is actually more 3.8 mm than 3 mm). Design is pretty straightforward:
- I used a lattice of 4 arches (2 locking inside the chest, 2 resting on the side of the box) and 3 longitudinal bars (getting inside the box as well)
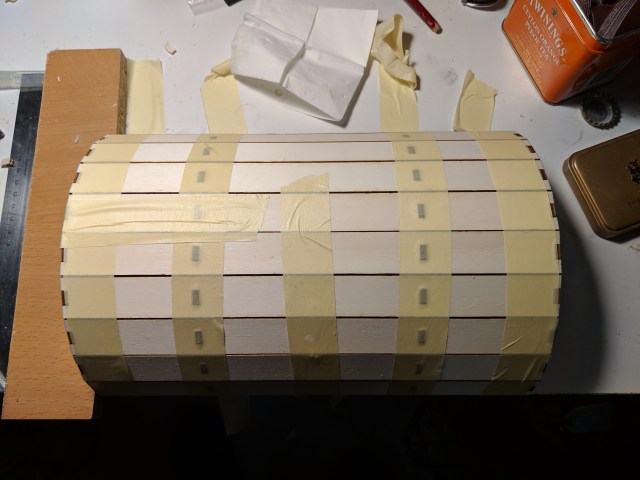
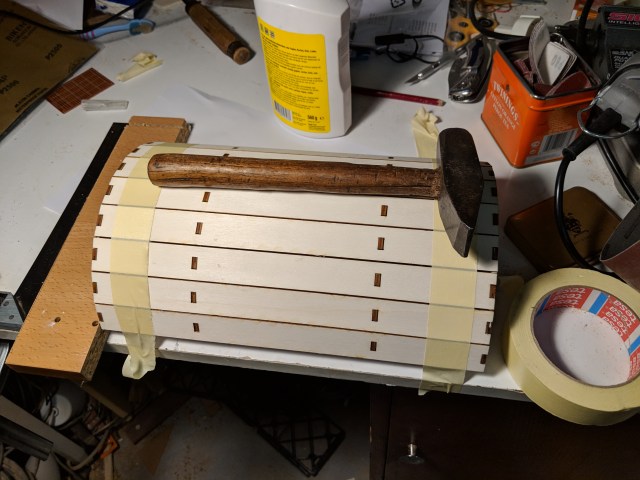
- assembly is traditionally done, using mortises and glue
- the roof is actually a subset of a 24-ogone (tetraicosagone for the g(r)eekiest of you), using only 10 segments, meaning the first one is already angled. The goal is to have a lower total elevation with the lid
- All of it is lasercut in the maker room at work, which has a new laser, much better than the old one 🙂 I’ll soon be back to use it again.
- I had to do one small redesign, as the inner arches had not a deep enough slit initially (messed up on my grid), I fixed the first batch with the dremel, the second batch was cut correctly. No photo of this though
- The design file (with all grids) and the actual final pieces (1 of each) can actually be found in a folder of my dedicated git repository, if anyone is interested